Tag: cookies

  • Chocolate Caramel Thumbprint Cookies

    Chocolate Caramel Thumbprint Cookies

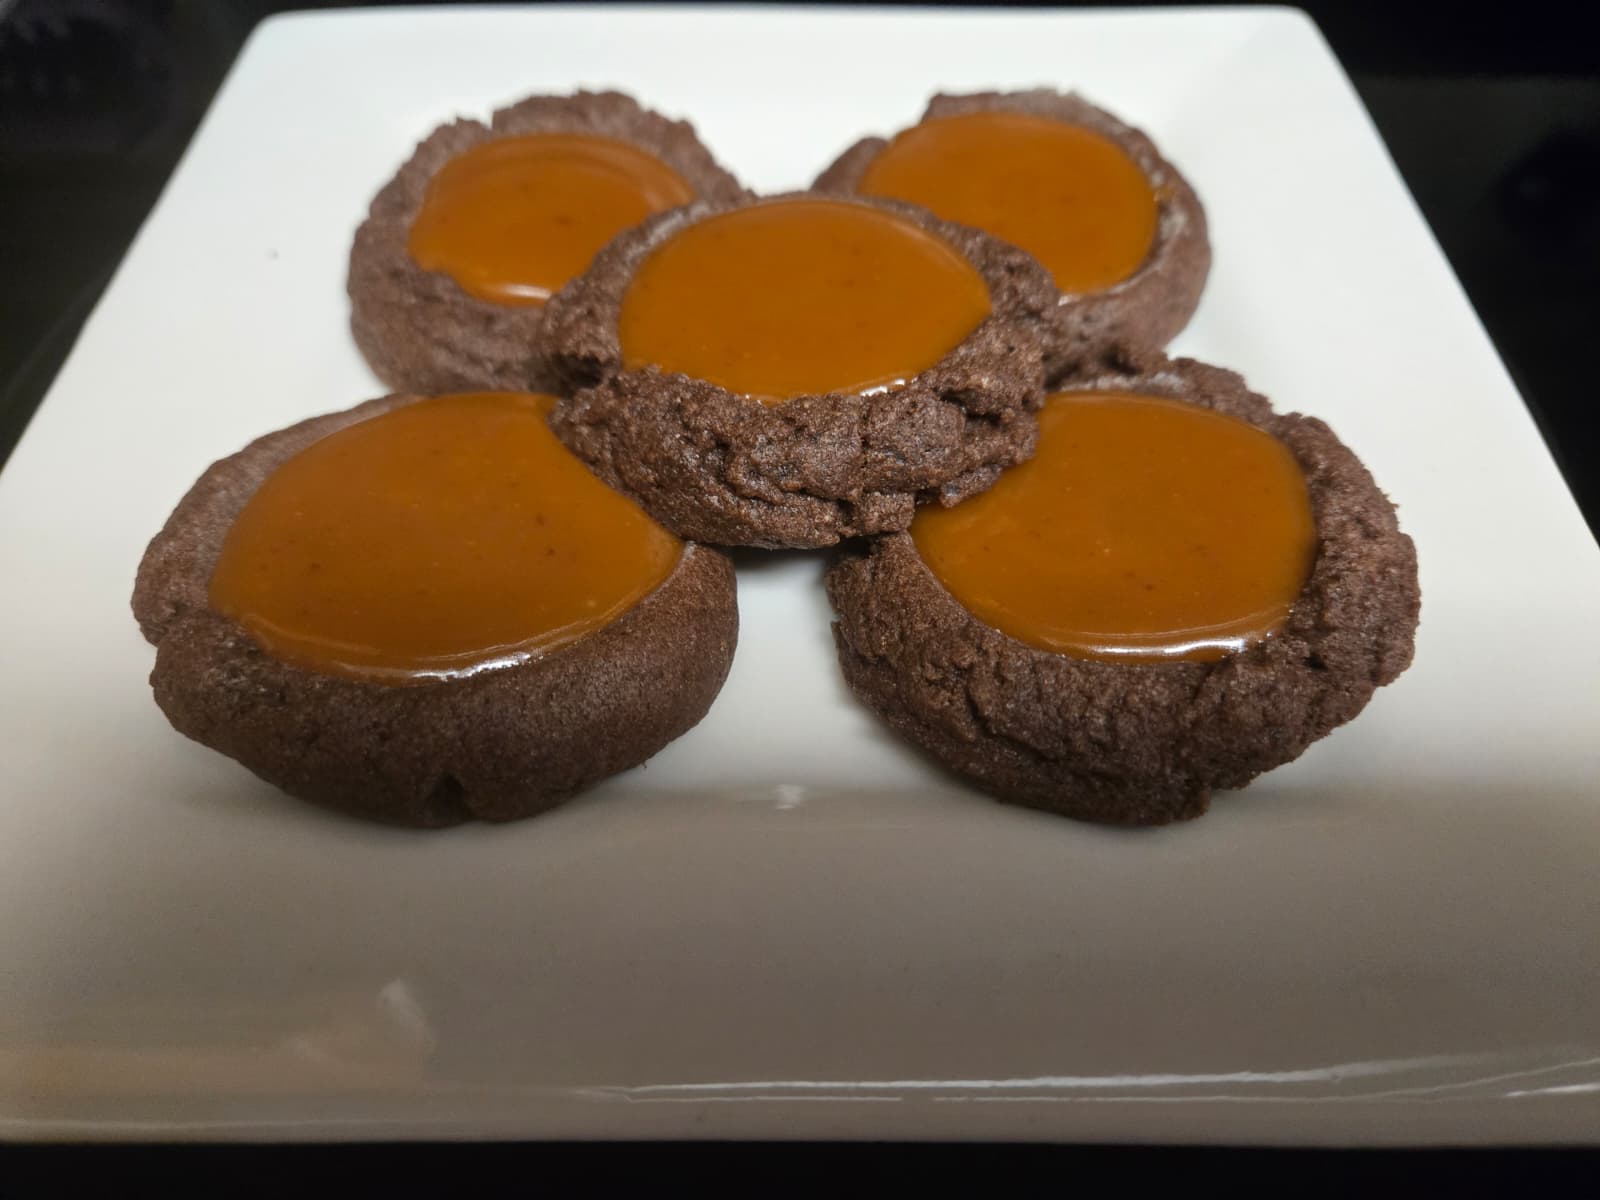
    I discovered my love for thumbprint cookies not too long ago. It was also around the time that I discovered that I don’t dislike desserts with jams/jellies in them, as long as the jams/jellies are homemade. I still prefer chocolate desserts, though, which is why I was immediately drawn to the idea of a chocolate thumbprint cookie. That idea eventually became these chocolate caramel thumbprint cookies.

    I decided to pair the cookies with a caramel filling, because chocolate and caramel are one of the most perfect combinations IMHO. You want to cook the caramel just shy of soft ball stage. You want it soft, but not runny. Adjust the salt level in the caramel to your liking.

    Chocolate Caramel Thumbprint Cookies

    Adapted from this recipe

    Ingredients

    For the cookies:

    • 1 cup (2 sticks) unsalted butter, softened
    • 3/4 cup brown sugar
    • 1/4 cup granulated sugar
    • 1 large egg, room temperature
    • 2 cups all purpose flour
    • 1/2 cup unsweetened cocoa powder
    • 1/2 tsp salt
    • 1 tsp vanilla extract
    • 2 tsp instant coffee powder (optional)

    For the caramel filling:

    • 1 cup granulated sugar
    • 1/4 – 1/2 tsp salt
    • 1 1/2 cups heavy cream
    • 4 tbsp unsalted butter

    Directions

    Line your cookie sheets with parchment paper and set aside.

    In the bowl of a stand mixer fitted with the paddle attachment, cream the butter and sugars until fluffy. Add the egg and beat until combined. Add the vanilla, salt, and coffee powder (if using) and beat until just combined.

    Add the flour and cocoa powder and mix on low speed until just combined.

    Scoop the dough (I used a Size #40 cookie scoop) and roll into uniform balls. Arrange the cookie dough balls about 2 inches apart on the baking sheets. Using your thumb, a measuring spoon, or a tart tamper, press down in the center of each dough ball to create an indentation.

    Place the cookie sheets in the freezer and freeze for about 20 minutes. Meanwhile, preheat the oven to 350 degrees F.

    Bake the cookies for 11-14 minutes, or until the edges appear set. Remove from the oven and quickly press the indentations back down (they will have puffed up a bit in the oven). Cool the cookies on the cookie sheets while you make the caramel.

    To make the caramel: Heat the cream in the microwave for about 1 minute, then set aside. In a medium saucepan, heat the sugar over medium-high heat. Gently swirl the pan occasionally, but do not stir until most of the sugar has dissolved. Once the sugar has dissolved and turned a light amber, remove from heat and CAREFULLY add the cream. Bits of sugar may clump up. This is normal.

    Return the pan to the heat and reduce the heat to medium. Continue to stir until the clumps of sugar disappear. When the caramel is liquid again, add the butter and the salt. Continue cooking the caramel until it has thickened and reaches a temperature of 238 degrees. If you like a firmer caramel, you can cook to 244 degrees.

    Working quickly (but carefully), pour the caramel into the indentations in the center of each cookie. Allow to cool completely, then store in an airtight container.

  • Red Velvet Cookies

    Red Velvet Cookies

    Yes, you read that correctly. Red. Velvet. Cookies. They have the classic “hint of cocoa” as red velvet does, as well as the buttermilk tang from the addition of powdered buttermilk to the dough. To top things off, they use cream cheese chips to mimic the cream cheese icing that is commonly used with red velvet cake.

    I have found cream cheese chips for sale at my local Walmart, but you can also buy them online in a pinch.

    Red Velvet Cookies

    Adapted from Crazy For Crust

    Ingredients

    • 10 tbsp unsalted butter, melted
    • ½ cup packed brown sugar
    • ⅓ cup granulated sugar
    • 2 tablespoons natural unsweetened cocoa powder (NOT dutch process)
    • 1 tbsp buttermilk powder (sifted if it’s clumpy)
    • 1 large egg
    • 1 teaspoon vanilla extract
    • ½ teaspoon baking soda
    • ½ teaspoon salt
    • 1 ½ (cups all-purpose flour
    • 1 teaspoon white vinegar
    • 1 teaspoon liquid red food coloring
    • 1 cup cream cheese flavored baking chips

    Directions

    Line 2 cookie sheets with parchment paper. You can also use silicone baking mats, but I prefer parchment paper.

    Stir both sugars into the melted butter in the bowl of a stand mixer. Add the egg and beat until smooth. Stir in cocoa powder, buttermilk powder, vanilla, baking soda and salt. Add the flour and beat until just combined.

    Add the vinegar and red food coloring and mix one more time, then fold in the cream cheese chips by hand.

    Use a cookie scoop to scoop cookie dough balls onto the cookie sheets about 2-inches apart.

    Preheat oven to 350°F. Bake the red velvet cookies cookies for 9-12 minutes or until they just lose their glossy sheen. Cool on cookie sheets before removing to eat.

  • Chocolate Peanut Butter Chip Cookies

    Chocolate Peanut Butter Chip Cookies

    Skip to Recipe!
    I am not particularly fond of peanut butter.  Maybe it was too many peanut butter and jelly sandwiches as a kid.  In fact, to me, peanut butter is something that I eat when my calorie counting app tells me that I haven’t eaten enough fat or protein that day.

    Yet, when done right, something magical happens when chocolate and peanut butter come together.  The peanut butter Lindt truffles are one of my favorite flavors.  And, my absolute favorite cookies are chocolate cookies with peanut butter chips.  These cookies have ruined my diet many, many times.  In fact, I refrain from making them often, because I know that I will utterly destroy half a pan in one sitting if I do. (more…)