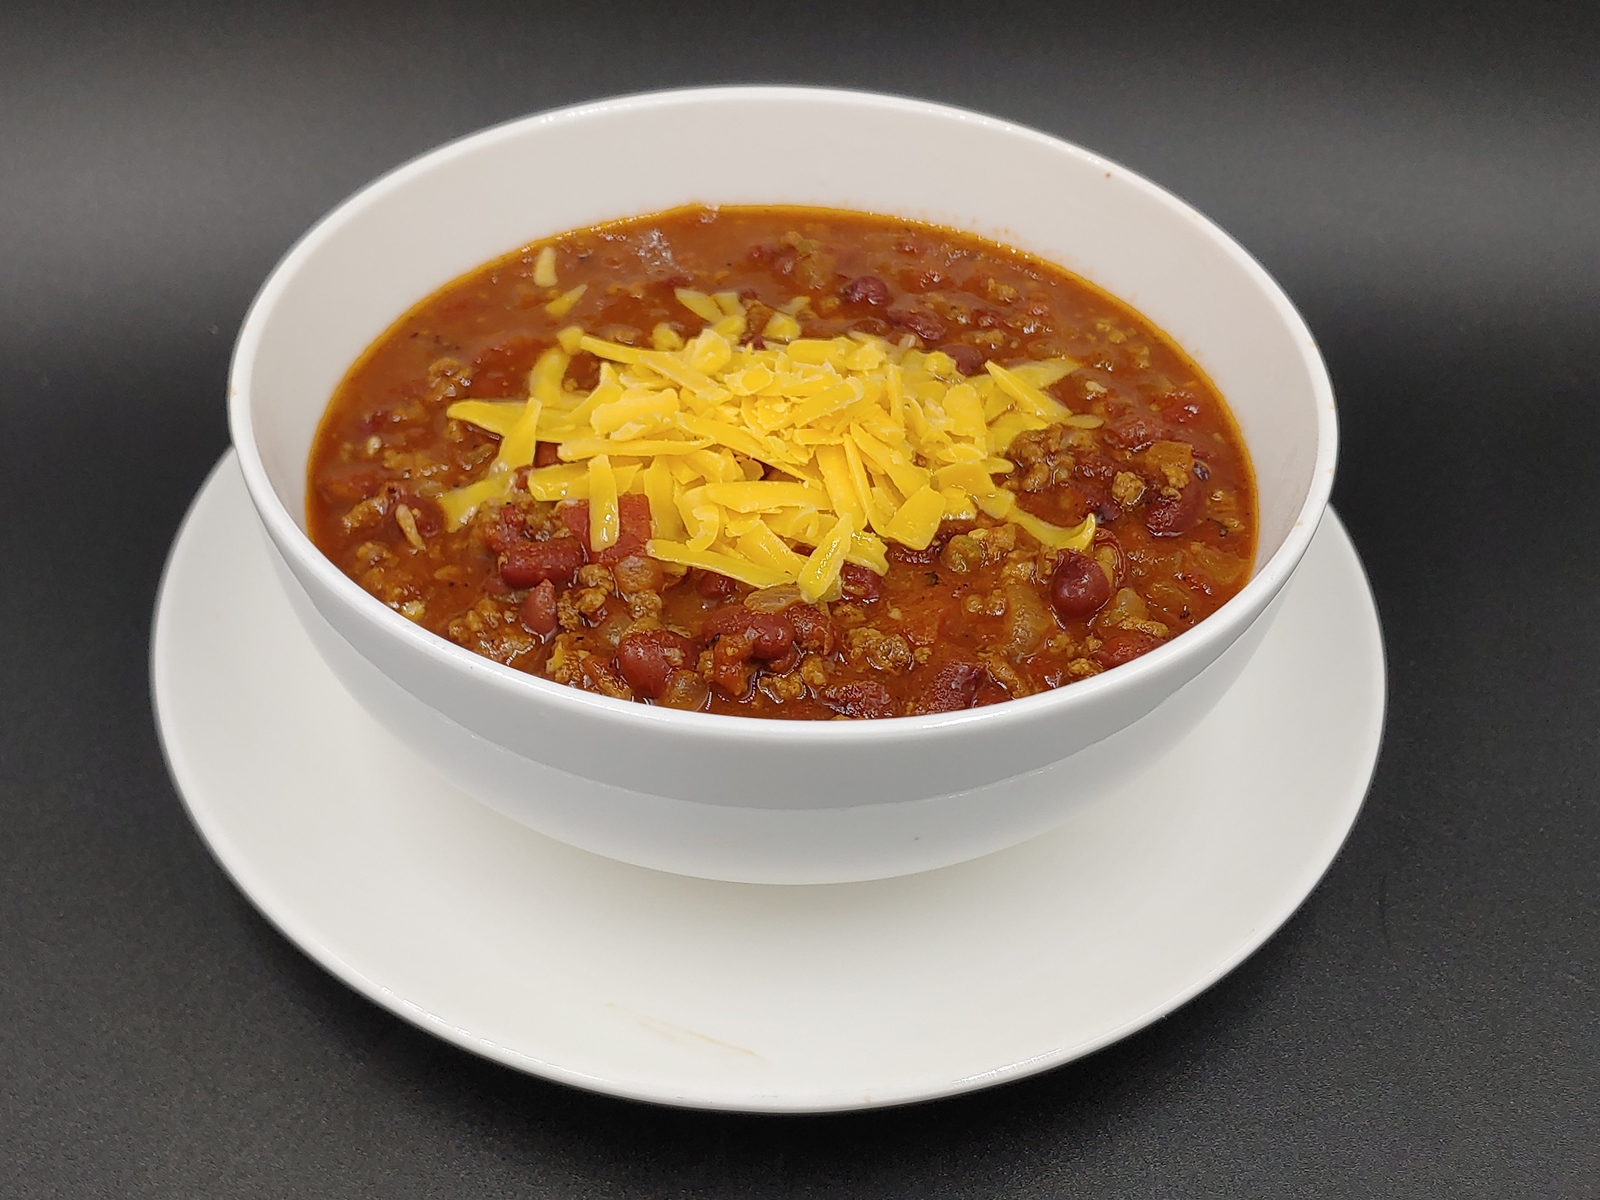
After searching online for a chili recipe for my Instant Pot, I was disappointed to find that most of them used canned beans. So, I decided to come up with my own recipe for chili. Everyone that has tasted it so far has loved it, so hopefully you will too.

The first thing you need to do is par-cook your beans. I used small red beans. You can use red kidney beans if you prefer, but I like these better.

The goal is to cook the beans about 3/4 of the way through. This way, they can finish cooking once the chili is fully prepared. For these beans, I cooked them for about 20 minutes with a 15 minute Natural Release.
Preparing the beans can be done a day in advance. Just store the beans in the refrigerator until you’re ready to prepare your chili.

Once you’re ready to begin making the chili, get all of your ingredients together. This will help the process go much faster.

Brown your ground beef in 1 tbsp of oil on the Saute setting of the pressure cooker. When the meat is browned, add the onions and cook until soft. Then, add the garlic and diced jalapenos. Cook for an additional minute or so, until fragrant. Then, add the spices and beef bouillon.

Add the beer and use your spoon to scrape up any browned bits off the bottom of the pot. Add the diced tomato and tomato sauce. Lastly, add the par-cooked beans. Cover the pressure cooker, seal, and cook on High Pressure for 10 minutes. Once the timer is done, allow the pressure to release naturally for about 15 minutes before you release any remaining pressure. Give the chili a stir, then taste and adjust seasonings as needed.

Let the chili rest at least 20 minutes before serving. I prefer making it a day in advance to let the flavors REALLY meld, but I understand that not all of us are that patient.
Pressure Cooker Chili
Ingredients
- 1lb dry red beans
- 1 tbsp vegetable oil
- 2 lbs lean ground beef
- 1 medium onion, diced
- 3 cloves garlic, minced
- 2 jalapeno peppers, diced
- 2 cans fire roasted diced tomatoes with green chiles
- 3 8oz cans of tomato sauce
- 1 12oz bottle of beer
- 2 tbsp chili powder
- 1 tbsp cumin powder
- 2 tsp oregano
- 2 tsp smoked paprika
- 1/4 tsp cayenne pepper
- 2 small beef bouillon cubes (or 1 large)
- 1 tsp salt (more or less to taste)
- 1/2 tsp ground black pepper
Directions
Add the beans to the liner of your electric pressure cooker with 4 cups of water. Cover, seal, and cook on High Pressure for 20-25 minutes. When the timer completes, allow the pressure to release for 15 minutes before releasing any remaining pressure. Drain the beans and set aside.
Preheat the liner of your pressure cooker on the Saute/Browning setting. When the liner is hot, add the oil and ground beef and cook until no more pink is visible. Add the diced onion and cook until soft. Add the minced garlic and diced jalapeno. Cook until the garlic is fragrant.
Add all of the spices, stirring until the meat mixture is evenly coated in the seasonings. Add the beer and scrape up any browned bits that stuck to the bottom of the liner. Add the diced tomatoes and tomato sauce, then stir in the beans.
Cover, seal, and cook on High Pressure for 10 minutes. When the timer completes, allow the pressure to release naturally for an additional 15 minutes before you release any remaining pressure. Taste and adjust seasonings as needed.
Allow to rest at least 20 minutes before serving, then serve with your choice of toppings.


December 9, 2020 at 7:13 pm
What does 1/2 pepper mean? Half green pepper? 1/2 tsp ground pepper?…. The possibilities are endless.
December 10, 2020 at 11:07 am
Hello Scott.
Thank you so much for pointing out the error. That is supposed to be 1/2 tsp ground black pepper. I have made the necessary correction on the recipe.
December 10, 2020 at 11:31 am
Thanks for your reply. Also you included oil in the ingredients listing but never use it in your directions. I had to back scroll back to where the pictures were and there you say to brown the meat in the oil.
I did make this yesterday and it is excellent!
December 10, 2020 at 12:04 pm
Oh goodness! Thanks again, I fixed that as well.
Also, good to know that people actually read the step by step photo directions!