Skip to Recipe
Cheesecake is delicious. And, while it is made of pretty basic ingredients, it is surprisingly easy to screw up. If you’ve ever had a bad slice of cheesecake, you know exactly what I’m talking about. Fear not, though! I’ve got your back.
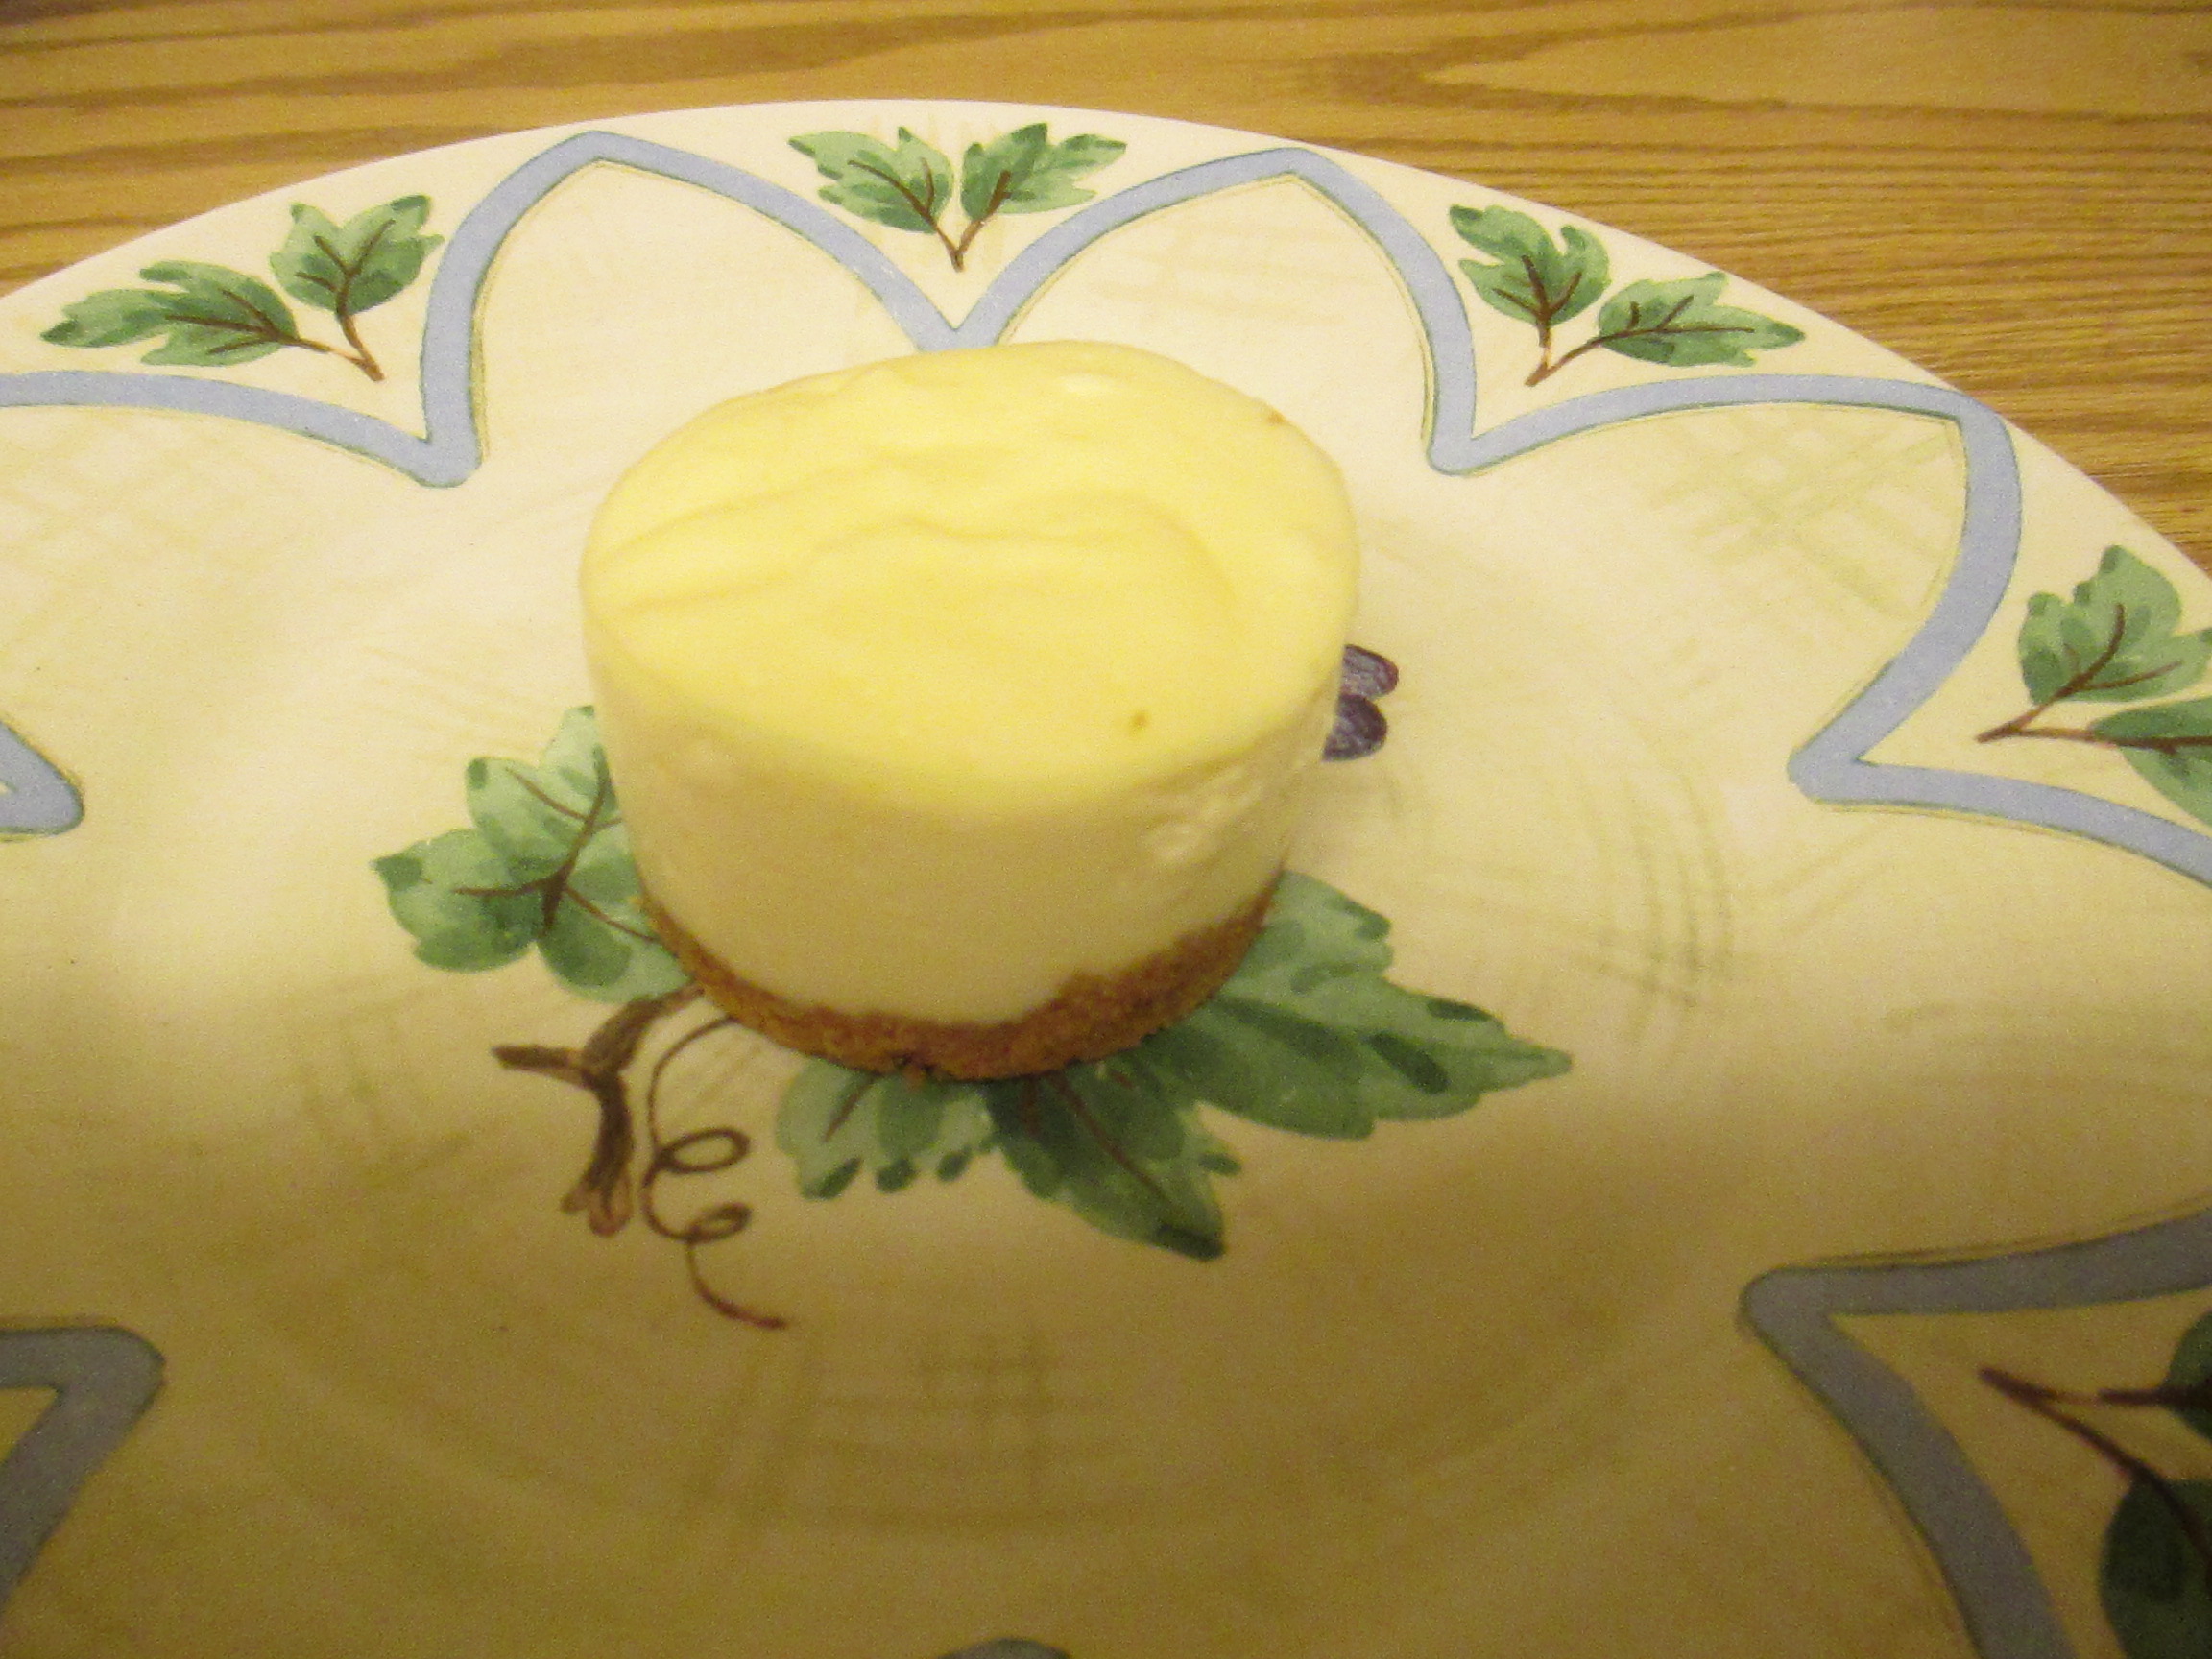
Mini cheesecakes are perfect for portion control. However, making them in a standard cupcake pan means you are either in for a horrible time getting them out of the pan, or you have to line the pan with a cupcake liners (which ruin the presentation). Luckily, someone thought to make a mini cheesecake pan. Each cavity has a removable bottom, which makes getting your perfect little cheesecakes out of the pan a lot easier.
Getting the pan to work for me took a little bit of finesse, but I finally got a system going to get a great result.
Make your crust by combining graham cracker crumbs with melted butter and a little bit of sugar, then add a spoonful to each cavity. Once you’ve added a spoonful of your graham cracker mixture into the pan, use a tart tamper to press the crumbs down. It will help get you that tightly packed crust that won’t fall apart when you remove them.
While the crust is in the oven, start on your cheesecake batter. You cream the sugar and cream cheese together first. Your cream cheese should be at room temperature. I usually take it out of the fridge and let it sit out for a few hours.
Then, you’ll add your eggs. Best to use eggs that are at room temperature, or the cold will make your cream cheese mixture start to clump. If you get lumps, you can already try pressing them out with a spatula.
Once you add in the rest of your ingredients and mix, you should be left with a relatively smooth, thick batter. Take care not to over-mix the batter. Introducing too much air into your cheesecake batter makes it susceptible to cracks during baking.
Divide your batter evenly between the cavities of your pan. Through trial and error, I discovered that using by cookie scoop, I filled each cavity with 2 scoops of batter. Then, tap the pan a few times on the counter to settle the batter, and into the oven it goes!
Fresh out of the oven, your cheesecakes will probably have a little bit of puff to them.
But, once they cool, they will flatten out. I let them cool completely, and then pop them in the freezer for about 30 minutes to an hour so that they firm up and don’t fall apart when I try to get them out of the pan.
There you have it! You can eat it just like that, or top it with whatever you wish. Enjoy!
Mini Cheesecakes
Ingredients
For the Crust:
- 1 cup graham cracker crumbs,
- 2-3 tbsp butter, melted
- 1/2 tbsp granulated sugar
For the cheesecake:
- 2 (8oz) packages of cream cheese, softened
- 1/3 cup granulated sugar
- 2 eggs, room temperature
- 1/4 cup sour cream
- 1 tsp vanilla extract
Directions
Make the crust:
Preheat the oven to 350 degrees. Spray your mini cheesecake pan with nonstick cooking spray.
Combine your graham cracker crumbs, melted butter, and sugar in a small bowl. Mix them together until it the crumbs are moistened and kind of hold together. Scoop about 1 heaping tbsp of crumb mixture to each cavity, and press onto the bottom.
Bake for 8-10 minutes, or until slight browned. Remove from oven and set aside. Reduce the oven temperature to 300 degrees.
Make the cheesecake:
In a medium bowl, cream your sugar and cream cheese until smooth. Add your eggs, one at a time, beating well after each addition. Add your sour cream and vanilla extract, and mix until just combined. Do not overmix!
Divide your batter evenly among the cavities of your cheesecake pan. Tap the pan lightly on the counter a few times to pop any air bubbles and even out the batter.
Bake at 300 degrees for 15-20 minutes, or until the centers of the cheesecakes are only barely jiggly. Remove from oven and allow to cool completely, then refrigerate for at least an hour before removing from the pan.


June 28, 2014 at 10:27 pm
[…] supporter of portion control and like cute little things, I made mini cheesecakes. You can use my previous mini cheesecake post as a guideline, if you’re unsure of the step-by-step […]
January 28, 2015 at 3:41 pm
[…] These eggnog mini cheesecakes are spiked with a hint of rum, and are topped with rum caramel sauce. You can easily make these “kid-friendly” by omitting the booze, but I think it adds an extra depth of flavor to the overall dish.I use a mini cheesecake pan to make these. You can also use a standard cupcake/muffin pan lined with paper liners, but the presentation will be a little different. For a more in-depth account on how to make mini cheesecakes, click here. […]