Skip to Recipe
First off, I must apologize to everyone that has been asking me for this recipe. I have nothing to blame except for myself, my laziness, and the fact that I am easily distracted.
I first started attempting homemade caramel when I was obsessed with caramel apples. While I still haven’t quite mastered covering an apple, I managed to find a recipe that makes a caramel that is amazing on its own. These have become a holiday tradition for me, and I easily make and wrap several hundred caramels during the holiday season. There are people who look forward to these throughout the year. So, for them, I pass the recipe along.
It’s best to use a candy thermometer, I have found. But, if you’re comfortable with the cold water test, then feel free. My instructions will only refer to those using a thermometer. Also, use extreme caution when working with any projects involving cooked sugar. That stuff BURNS! So, try not to get any of it on you.
First, prepare the pan or pans where you will be pouring the finished product. The original recipe says to use a greased 12 x 15 pan, that you then have to cut into squares yourself. I find that using these silicone mini brownie pans from Wilton saves a lot of time when you need to cut and wrap them. Plus, they pop out easily.
Next, throw all of your ingredients, except for the vanilla extract, into a heavy-bottomed saucepan. Make sure you attach the candy thermometer to the side before you start heating. Heat your ingredients on medium heat, stirring frequently. I like using a silicone spatula to stir with. It withstands high temperatures without any worries.
If you did it correctly, your mixture should come together something like this. If you don’t incorporate the butter well enough during melting, the fat might separate from the mixture and you may end up with oily caramels.
Keep on heating and stirring, and your mixture will start to simmer.
Once it’s at a vigorous simmer, it will start to foam up and rise. Make sure you take this into account when you are selecting your cooking vessel. You don’t want your caramel bubbling over.
After a while, the mixture will shrink down again and start to resemble caramel. At this stage, it is important that you start stirring the caramel constantly. Otherwise, the bottom might burn. Continue to cook and stir until the mixture reaches 244-246 degrees.
Once the caramel has reached the desired temperature, remove the pan from the heat and add your vanilla extract. Stir until well-combined.
Pour your caramel into your prepared pan (or pans). Allow to cool completely.
This is where using the mini brownie pan pays off. I just pop a row of squares out, one by one…
…cut each square in half and trim the edges…
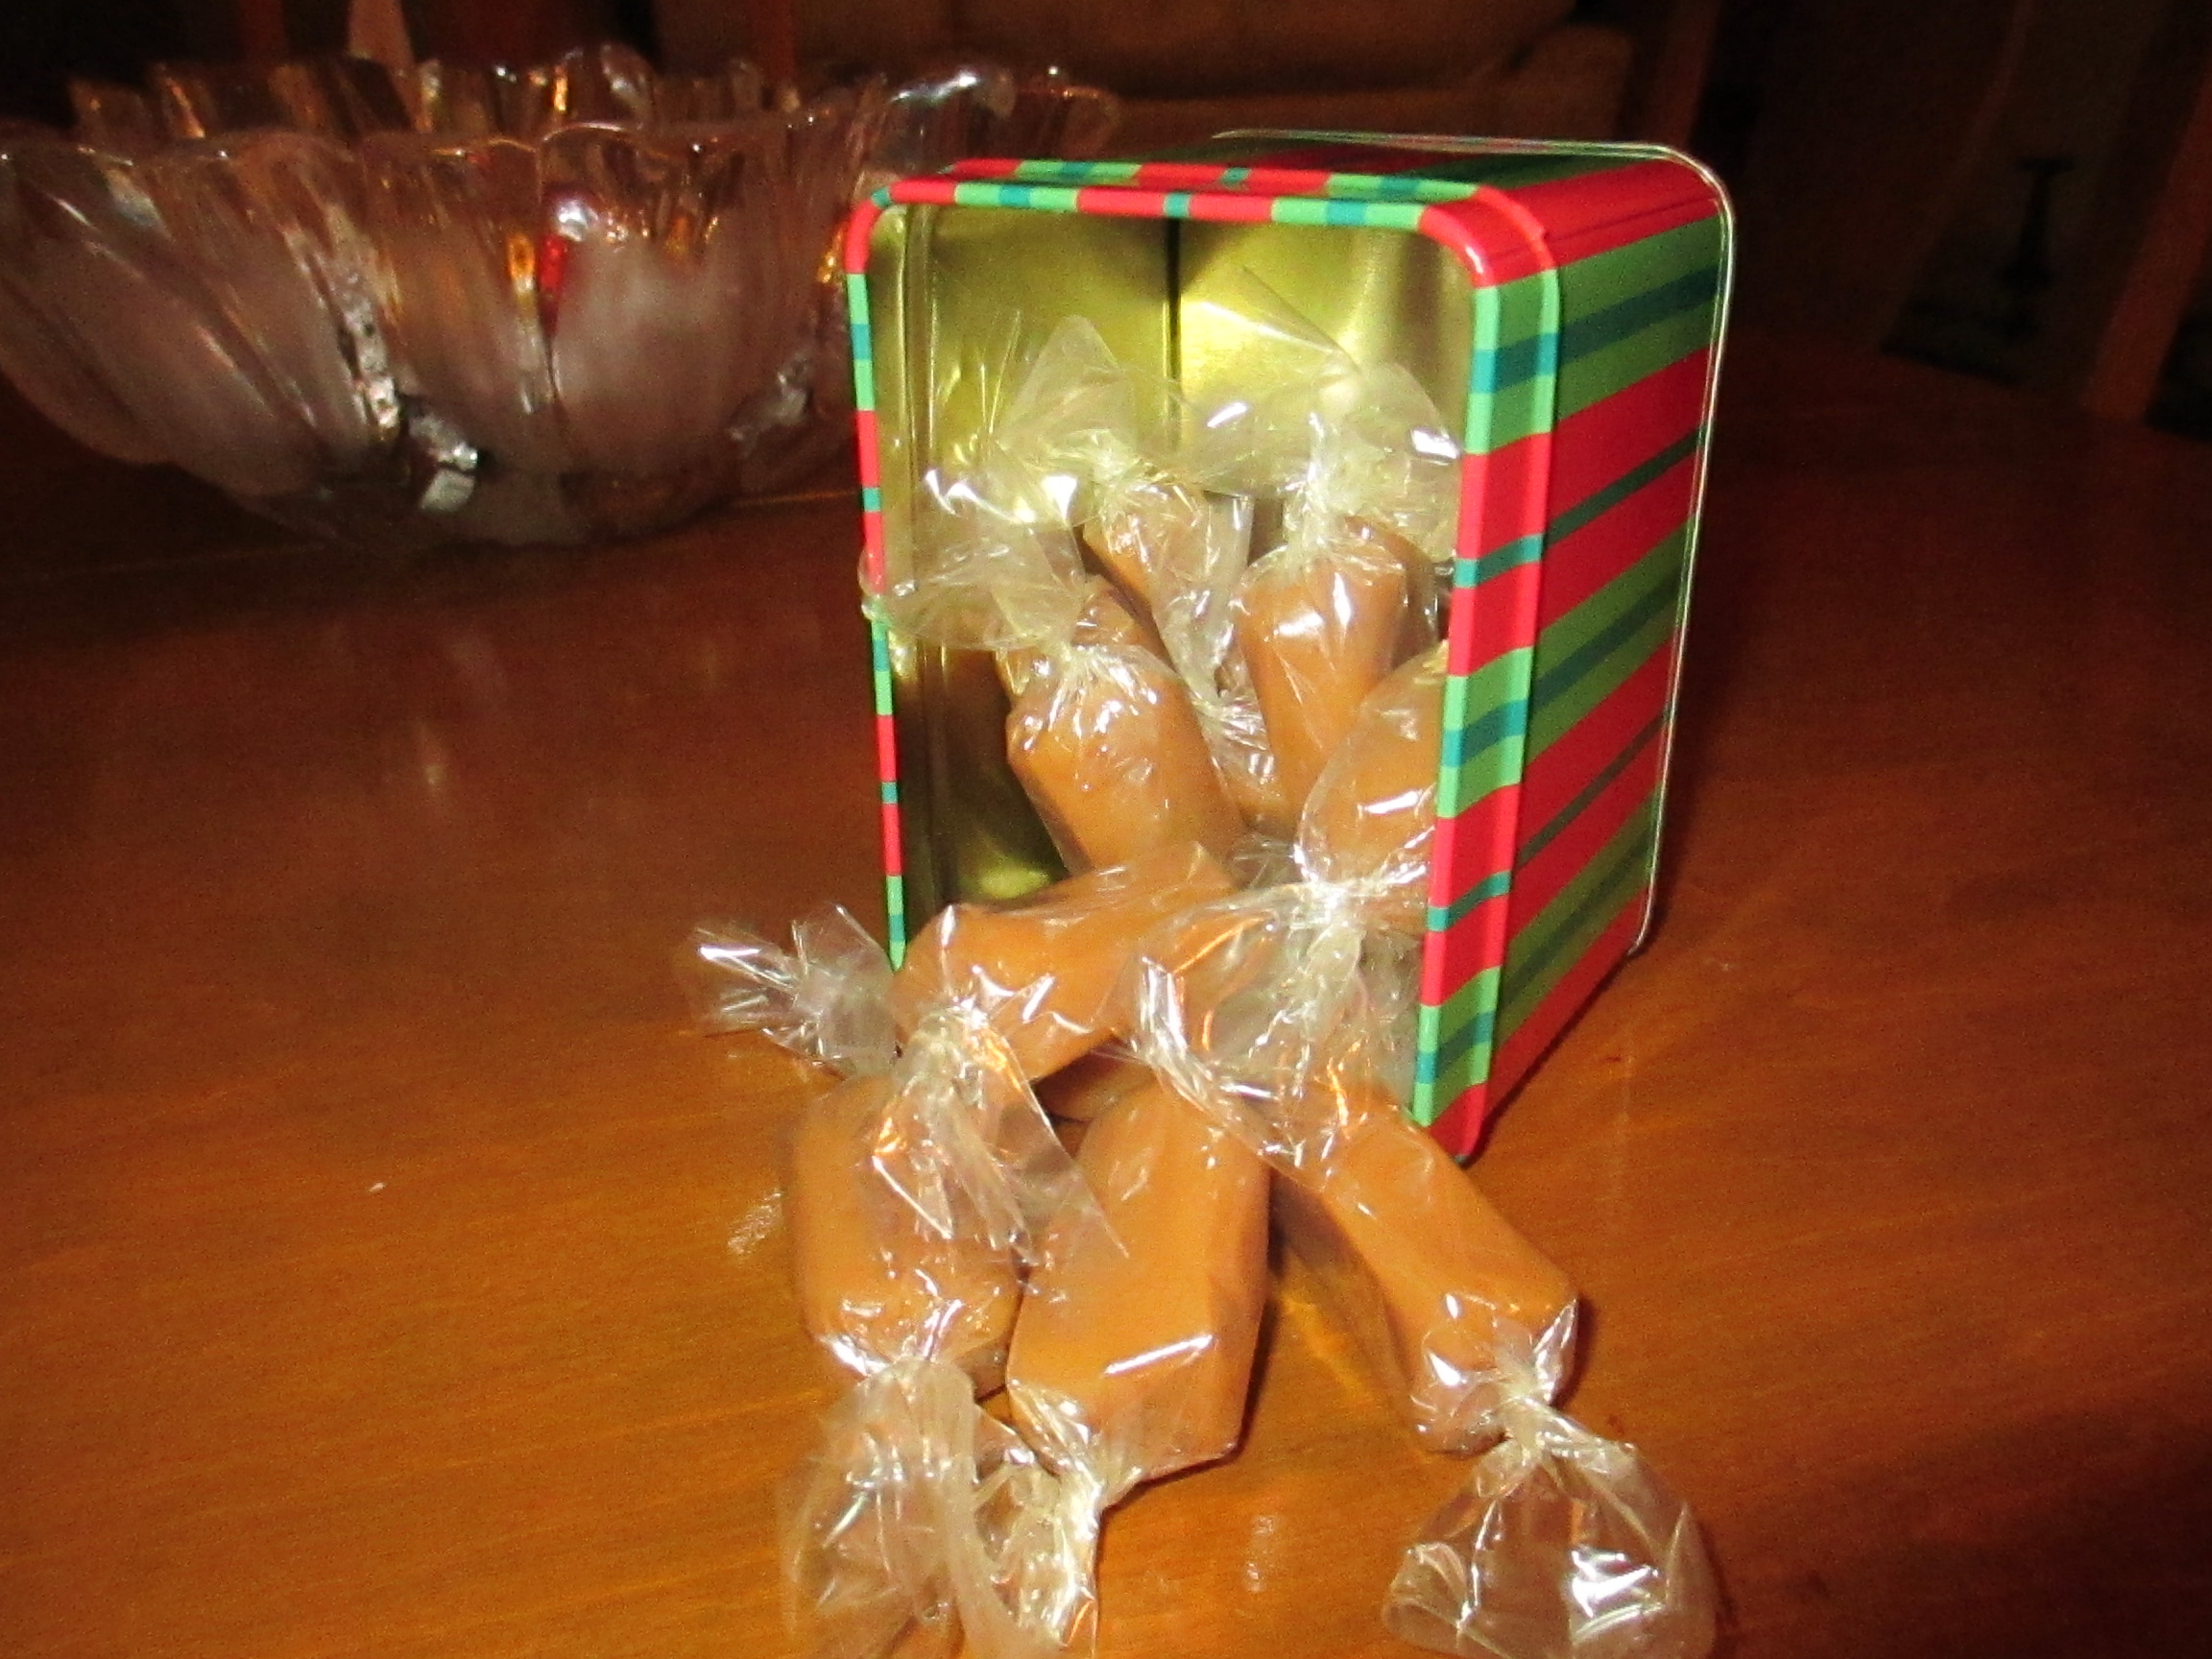
…and then wrap each of these little rectangles individually in cellophane wrap. You can also use waxed paper, if you prefer.
You can keep these all to yourself, or buy some cute tins to put them in and give out as gifts. Be warned: it is dangerous to keep too many of these lying around. One is never enough.
Caramels
Ingredients
- 2 cups white sugar
- 1 cup packed brown sugar
- 1 cup light corn syrup
- 1 cup evaporated milk
- 1 pint heavy whipping cream
- 1 cup butter
- 1 1/2 teaspoons vanilla extract
Directions
Grease a 12×15 inch pan.
In a medium-size pot, heat the sugar, brown sugar, corn syrup, evaporated milk, whipping cream, and butter until it forms a uniform mixture. Monitor the heat of the mixture with a candy thermometer while stirring. When the thermometer reaches 244-246 degrees F (120 degrees C) remove the pot from the heat. Stir in vanilla. Transfer mixture to the prepared pan and let the mixture cool completely.
When cooled cut the caramel into small squares and wrap them in cellophane or wax paper for storage.


August 25, 2014 at 12:18 am
[…] bar pieces are barely visible. You can melt Kraft caramels with about 2 tablespoons of milk, or make your own. If you’re making your own, you want to cook the caramel to the Soft Ball Stage (about […]