Skip to recipe
Valentine’s Day is just around the corner, and LOVE is in the air. In my case, it’s love of delicious things. For me, food has always been a very emotional experience. As such, making food is one of the ways that I express myself. Nothing makes me happier than to feed the people close to me and see them enjoy my cooking. But, on the same note, the thought of someone that I don’t like enjoying something that I made is absolutely intolerable. Food is love. MY love. You can’t have any of it. So there.
Valentine’s Day, of course, means all manner of red and pink treats flying around. And, when a baker thinks of things that are red, red velvet is usually one of the first things that comes to mind. And, since they’re red, these morsels of red-velvety goodness are PERFECT for a post on the month of a holiday that is associated with this color. I have been meaning to post this recipe for quite some time, but anytime I made them I would forget to take pictures. So, “Valentine’s Day post” became “Independence Day post,” which became “Okay, Christmas post for sure!” And, well, you see how well that went.
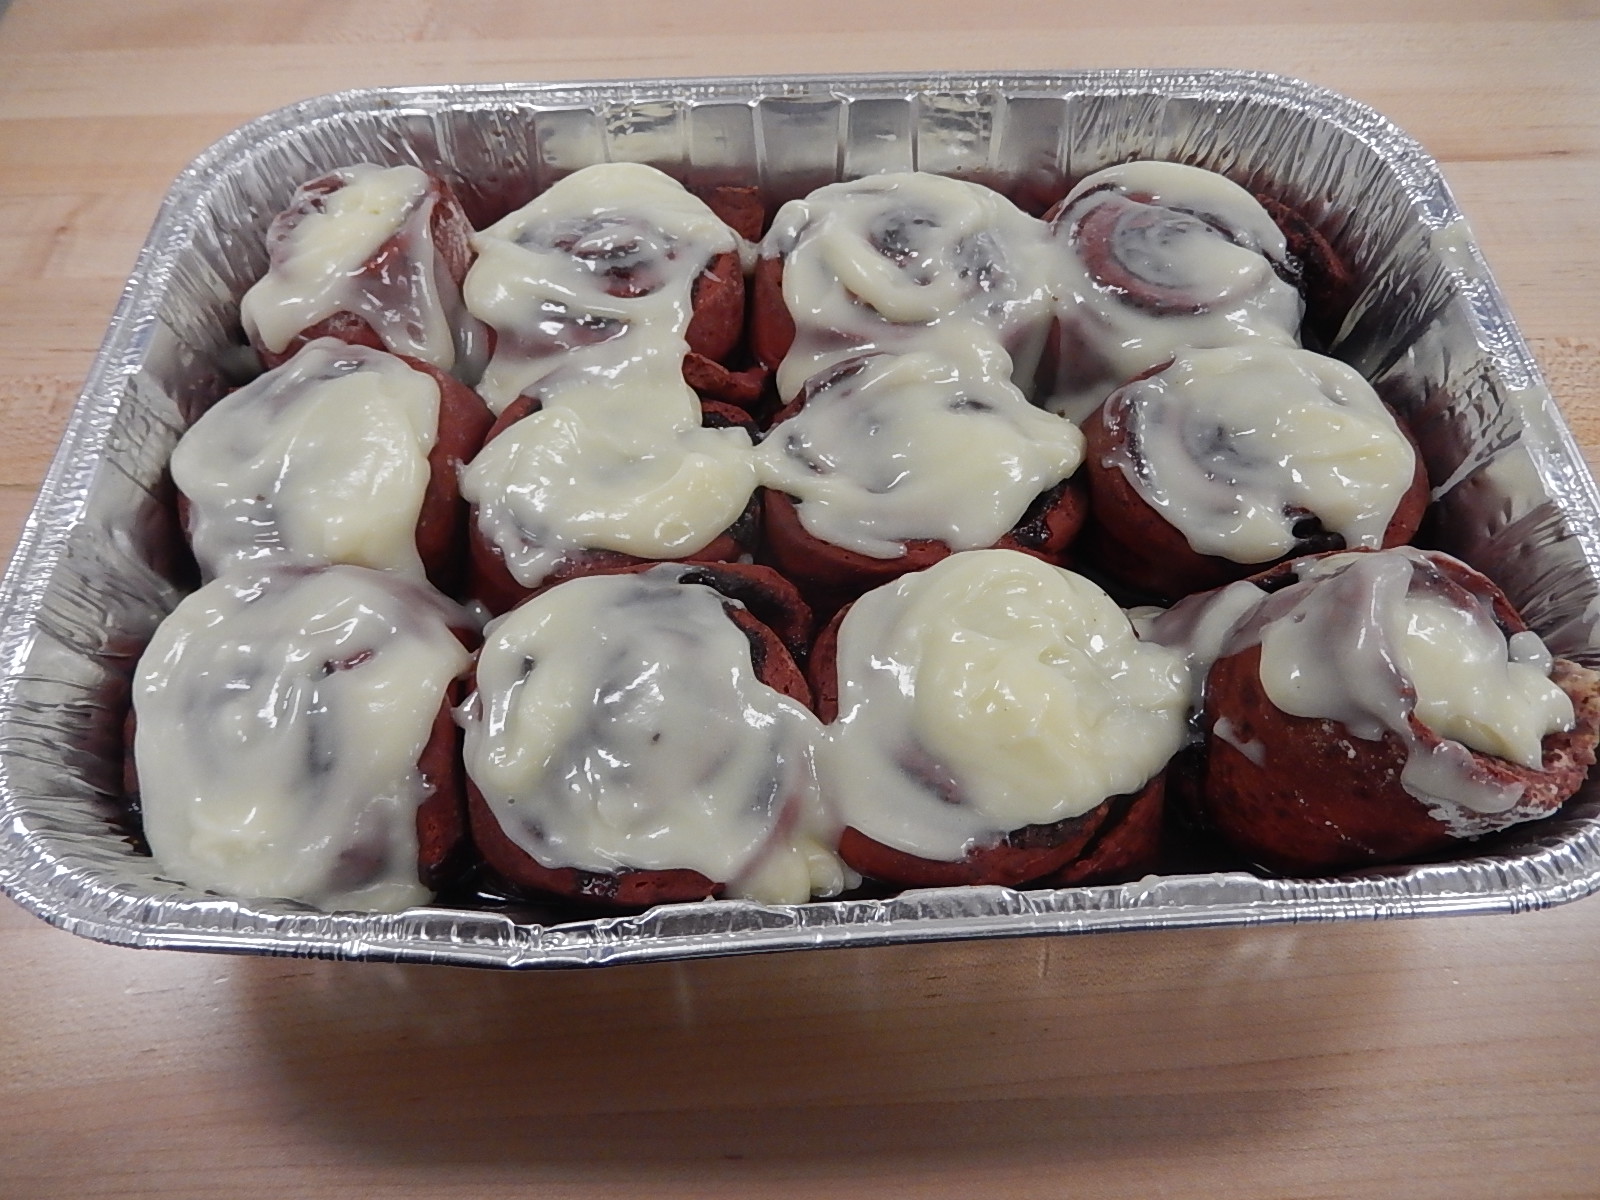
But, here they are! Lovely red velvet rolls with a sweet cocoa filling that are perfect for a Valentine’s Day breakfast or brunch. Make them for your sweetie. Make them for your friends. Heck, even make them for yourself! Hint: they freeze well.
I love my bread machine because it takes most of the work out of these types of undertakings. Just toss all of your dough ingredients in the machine, and let the Dough cycle run its course.
While the bread machine is working on your dough, you can start getting the ready for the next step. Have your pan, sugar mixture, and softened butter ready to go.
Once the bread machine has done its work, you are rewarded with vibrant red dough!
Turn out your dough on a lightly floured surface and roll into a rectangle. Spread your rectangle with butter about 1/2 inch away from the edges all around, and then sprinkle your sugar mixture evenly over that.
Carefully roll the dough (starting from one of the shorter sides) so that you get a cylinder shape. Cut the roll of dough into 12 pieces. Get them as close to the same size as possible. Lay them in your greased baking pan.
At this point, you could let the red velvet rolls rise for about an hour and then bake. However, my favorite strategy is to make them the night before and then let them rise in the refrigerator overnight. Just cover your pan and put it in the fridge until the next morning.
Using the cold rise method, I bake the red velvet rolls for half an hour. I start with a cold oven. That is, you do not preheat the oven before you bake them. Just pop them in the cold oven, THEN turn it on. Once they’re done, frost them with cream cheese icing while they’re still hot.
Aaaaand DIG IN!
There are a lot of steps to making any type of “roll,” but it’s easier than it looks. Plus, the waiting is rewarded with something warm and amazing that makes people go “Mmmmmm.” Don’t be afraid. It’s totally worth it! Make these red velvet cocoa rolls and I’m sure they will be added to your permanent recipe book.
Red Velvet Rolls
Ingredients
For the dough:
- 4 1/2 tsp bread machine yeast
- 3/4 cup buttermilk, warm
- 1/4 cup warm water
- 1 large egg
- 1 tbsp red food coloring
- 3 tbsp cocoa powder
- 1/3 cup granulated sugar
- 4 tbsp melted butter
- 1/2 tsp salt
- 4 cups all-purpose flour
For the filling:
- 1/3 cup white sugar
- 1/3 cup brown sugar
- 2 tbsp cocoa powder
- 4 tbsp butter, softened
Additional ingredients:
- 1-1 1/2 cups cream cheese icing
Directions
Add the dough ingredients to the bowl of your bread machine according to the manufacturer’s directions. Select the Dough cycle and press Start. While the dough is being prepared, combine the white sugar, brown sugar, and cocoa powder for the filling and set aside. Grease a 13″ x 9 ” baking pan.
When the Dough cycle is complete, turn the dough out onto a lightly floured surface. Roll the dough to an approximately 12″ x 16″ rectangle. Brush with the softened butter and then sprinkle with the sugar mixture. Starting with the shorter side, roll the dough into a cylinder and cut into 12 equal pieces. Arrange in your prepared baking pan, then cover and refrigerate overnight.
Bake at 350°(do not preheat the oven first) for 25-30 minutes, or until rolls are lightly browned. Top with cream cheese icing as soon as they come out of the oven. Serve warm.
Makes 12 rolls


