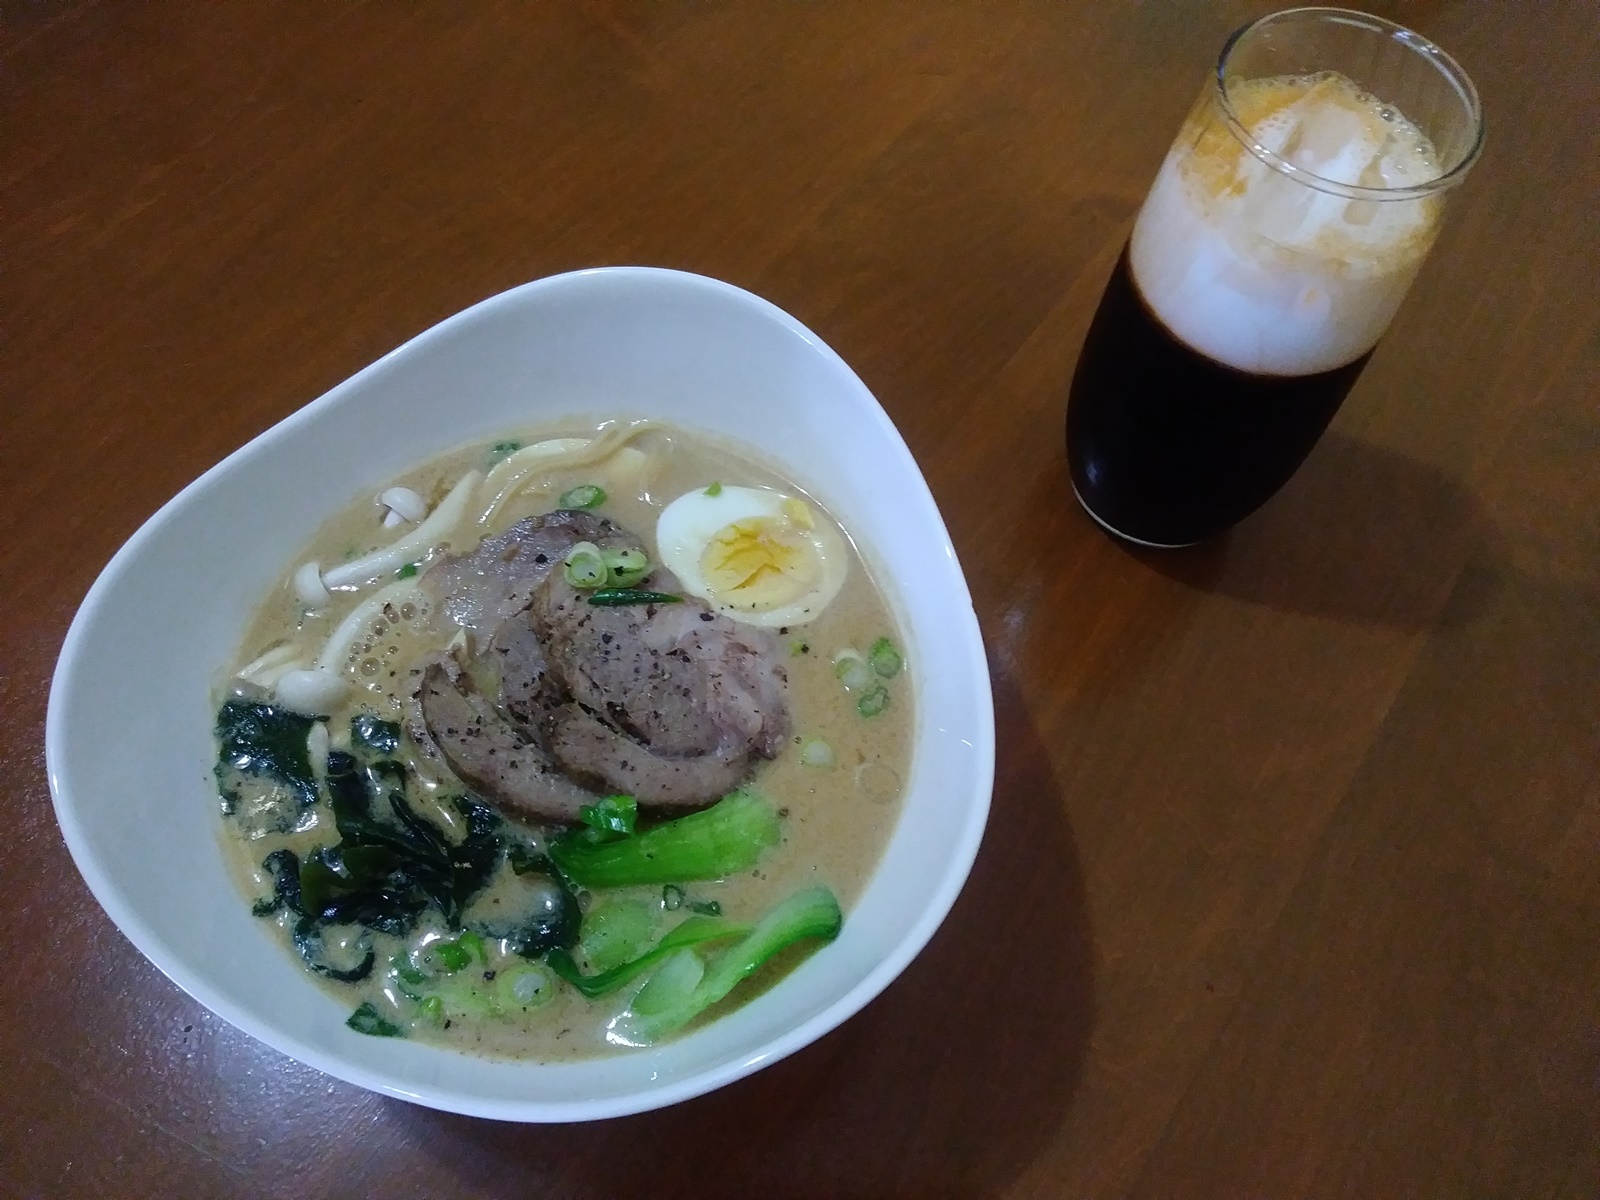
My favorite ramen place is a 45 minute drive from my house. On top of that, their bowls of tonkotsu ramen about about $30.00 nowadays. When I found out that someone had figured out how to make it in their pressure cooker, I was skeptical at first. But, I decided to give it a try, and it worked out great!
Tonkotsu ramen broth in an electric pressure cooker is not significantly less labor-intensive. You still need to boil and clean your bones before you start the broth. This helps to remove the marrow and impurities that will alter the color of your finished broth. It does cut down on the total cook time significantly, though. Plus, no babysitting a boiling pot for an entire day.
Traditional tonkotsu ramen broth is cooked for up to 18 hours, which is what gives the broth its signature “creaminess.” The fat and collagen in the bones breaks down and emulsifies in the broth. The pressure cooker doesn’t produce the rolling boil required to emulsify the broth. So, for using a pressure cooker, you need to add your own emulsifier after the broth is finished. I have also read that you can move the broth to the stove after pressure cooking and boil for about an hour to emulsify, but I have never tried this.

If you REALLY want to go all-out with your tonkotsu ramen, you can also make chashu pork (braised pork belly) to top it with. You can add some of the leftover braising liquid to your ramen broth for flavoring.

Once your broth is cooked, you can season it and pour over your cooked ramen noodles and serve with your choice of toppings. In addition to the base broth recipe, there are also recommendations for seasoning your broth and for toppings to serve the ramen with. Just play around with the ingredients and quantities until it tastes to your liking.
You can refrigerate tonkotsu broth for up to a week, or freeze for a few months. The broth will separate when chilled, so be sure to bring it back to a boil when you reheat it to emulsify it again.
Pressure Cooker Tonkotsu Ramen Broth
Adapted from Pressure Eats Recipe
**NOTE: I used an 8qt Instant Pot to make this quantity of broth, and it was a very tight squeeze. If you will be using a smaller pressure cooker, I recommend cutting the recipe in half.
Ingredients
For the broth
- 3lbs pork hocks, cut into discs
- 2bs chicken backs
- 2 whole leeks, washed and roughly chopped
- 1 3in piece of ginger, peeled and sliced
- 12 cloves of garlic
- 1 large onion
- 6 dried shitake mushrooms (you can also use fresh)
- 1 tsp salt
- 1 slab pork fatback
- 1/2 egg yolk or 2 tsp soy lecithin (I used a whole egg yolk with no issues)
- Additional recommended equipment: an immersion blender
For seasoning the broth (per 3 cups of broth)
- 1 tbsp tahini
- 2 cloves grated garlic
- Salt and pepper to taste
- 1 tbsp mirin
- 1 tbsp chashu braising liquid
- 1 tbsp toasted sesame seeds
- a dash of fish sauce
To serve
- Cooked ramen noodles
- Chopped scallions
- Sliced chashu pork (I used this recipe)
- Sliced mushrooms
- Seaweed
- Hard boiled or soya egg
Directions
Add the pork hocks and chicken backs to a large pot. Fill pot with water until the bones are fully submerged. Cover and refrigerate for at least 1 hour, but preferably overnight.
Drain the water from the pot and add fresh water. Place the pot, uncovered, on a stove and bring to a boil. Boil for 3 minutes, then remove from heat and drain. Allow bones to cool for about 15 minutes, then rinse and clean with cold water.
Optional step: Char the onions and garlic by placing them on a sheet pan and broiling them until some black spots appear (this took about 5 or 10 minutes for me)
Add the cleaned bones to the liner of your pressure cooker. Add the leeks, onions, ginger, garlic, mushrooms, and salt. Add enough water to reach about 3/4 of the way up the pot. Cover, seal, and cook on High Pressure for 3 hours.
When the time is up, release the pressure manually. Uncover, add the slab of fatback, then cover and seal again. Cook on High Pressure for 1 hour. At this point, you can release the pressure manually or naturally. I have done it both ways and both have been fine.
Drain the broth to remove the solids. Add the soy lecithin or egg yolk (temper the yolk first with broth if using), using the immersion blender to blend completely. Broth should become translucent.
Season broth to taste with seasonings of choice, then pour over cooked ramen noodles. Serve with your choice of toppings.


December 19, 2022 at 3:47 am
I attempted to pressure can this broth after making it and it (partially) broke the emulsion. Is there a way to stabilize this so that that doesn’t happen?
December 19, 2022 at 8:08 am
Hello Zev.
My broth separates when I freeze it. What I do is bring it to a boil for a few minutes when I’m going to serve it, and it emulsifies again.