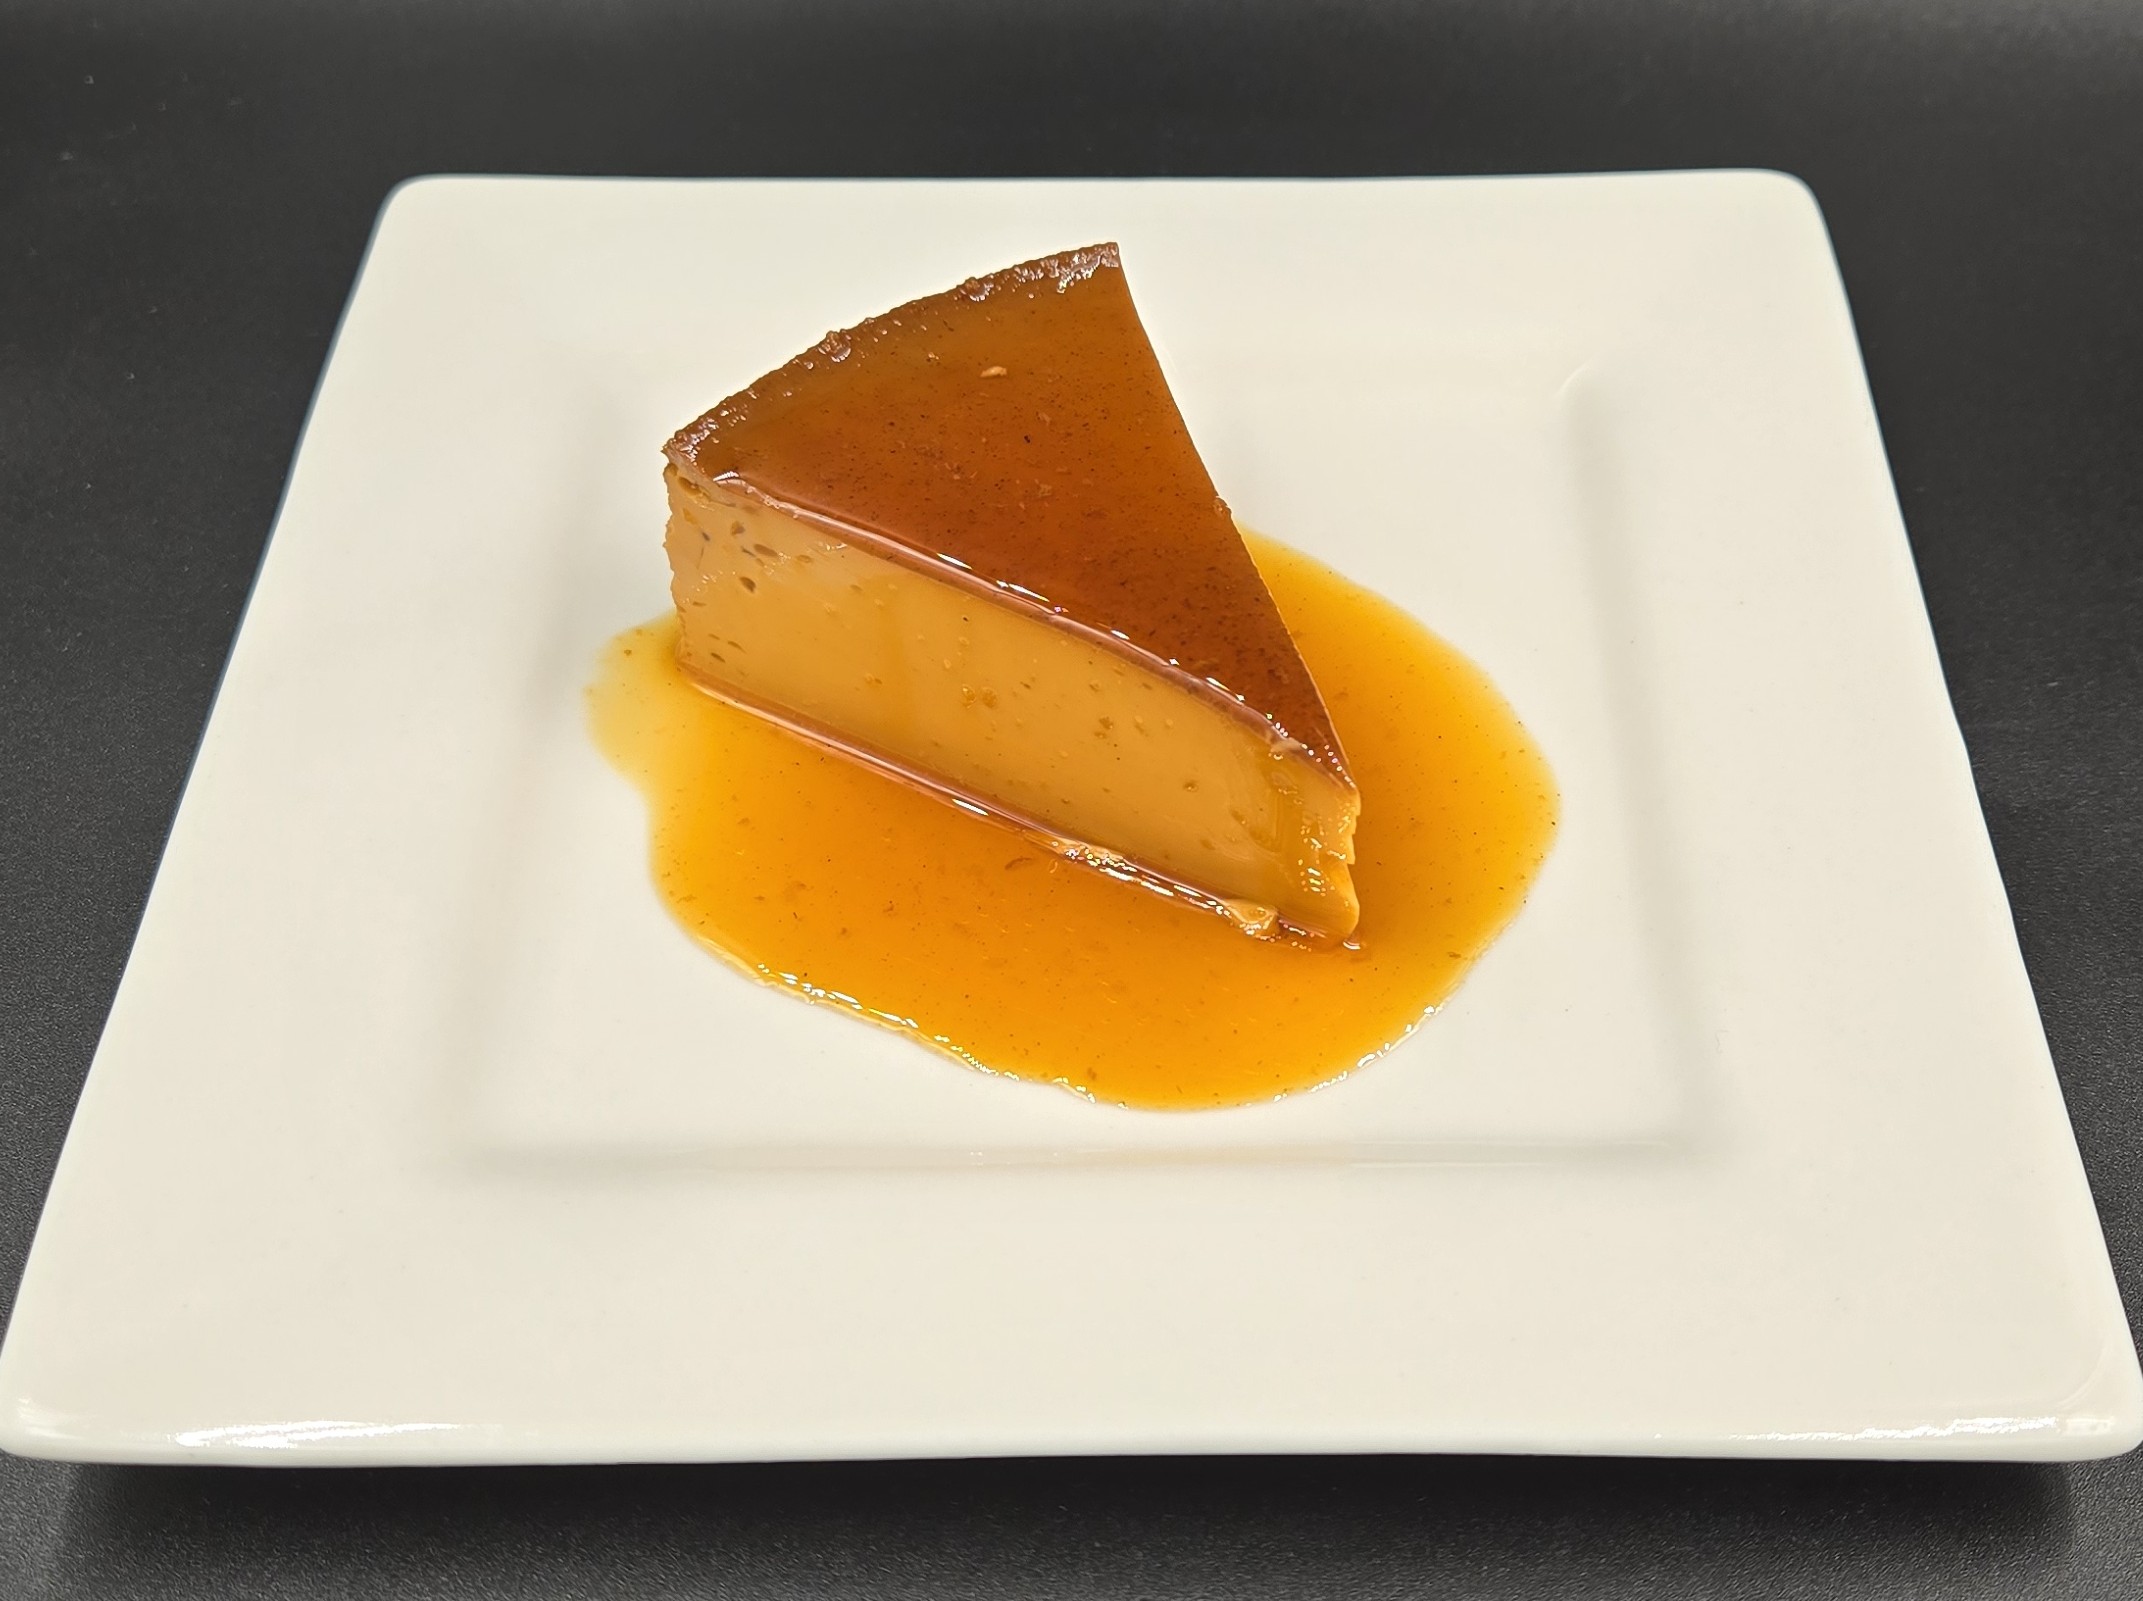
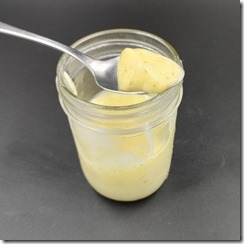
A mojito is a traditional Cuban cocktail that is extremely popular here in Miami. It generally consists of lime wedges and mint leaves muddled with sugar and topped off with rum and soda water. I was thinking of ways to use the flavors of a mojito in a dessert or treat that went beyond cupcakes. I came across a recipe for mojito curd, and thought that it would be fun to tweak it and convert it into a recipe that I could make in my Instant Pot.
Pressure Cooker Mojito Curd
Ingredients
1/2 cup fresh squeezed lime juice
10 fresh mint leaves, chopped
1 cup granulated sugar
1/4 cup of white rum (I used Bacardi)
3 eggs
1/4 cup of butter, cut into cubes
Directions
Combine the lime juice and the mint leaves in a small bowl. Gently muddle the mint leaves in the lime juice. Cover and let sit for at least 1 hour. You can also refrigerate for several hours, if desired.
Combine the sugar, rum, and eggs in an oven-safe container. Add the mint-infused lime juice (discard the leaves if you prefer a less-minty flavor). Using an immersion blender, blend the mixture together until smooth.
Cover, and place on a rack in the liner of your electric pressure cooker filled with 1 cup of water. Seal and cook on High Pressure for 12 minutes. When the timer is up, allow the pressure to release naturally for 12 minutes before releasing any remaining pressure.
Remove the mixture from the pressure cooker and uncover. Add the butter and blend again with your immersion blender until the mixture is smooth and all of the butter is melted. Transfer the mojito curd to mason jars and keep refrigerated until ready to use.
Several of my loved ones are obsessed with Oreo. So, when I had a fight with one of them recently, I knew that whatever I made as a peace offering should have Oreos in it. I looked at a few recipes for Oreo cheesecakes online, but none looked like they would make a cheesecake with the exact texture that I like. So, I decided to make my own. I wound up getting a bunch of requests for my Oreo cheesecake recipe, so I decided to record it for posterity.
I get a lot of questions from people about why I use such a small amount of butter in my Oreo crusts. Oreo filling is basically sweetened shortening. When it gets hot, it will melt. This creates additional melted fat to make up for the rest of the butter that would typically go in a graham cracker crust. If you’re removing the filling or using another type of non-filled cookie for your crust, definitely add an extra 2 tbsp of melted butter. Otherwise, the crust for your Oreo cheesecake might end up too oily. Take it from someone who’s had to wipe grease off of the bottom of her cheesecakes.
Pressure Cooker Oreo Cheesecake
Ingredients
For the crust:
1 cup crushed Oreo crumbs (don’t remove the cream filling)
1 tbsp butter, melted
For the cheesecake:
16 oz cream cheese, softened
1/2 cup granulated sugar
2 eggs, room temperature
1/3 sup sour cream
1/2 tsp vanilla extract
1/2 cup crushed Oreo crumbs (or chopped Oreo pieces, if you prefer chunks in your cheesecake)
Combine the melted butter and the Oreo crumbs in a small bowl. Press onto the bottom of a 7″ cheesecake pan. Grease the sides of the pan, then set aside.
*Note: If desired, bake the crust in a pre-heated oven at 350 degrees for 8 minutes.
Make the cheesecake
Cream the cream cheese and sugar until smooth (best to use a stand mixer for this). Add the eggs, one at a time, beating well with each addition.
Mix in the sour cream and vanilla, mixing until just combined. Do not overmix!
Gently fold in the Oreo crumbs, then pour into your prepared cheesecake pan. Set aside.
Pour 1 cup of water into the liner of your electric pressure cooker, then set to the Saute/Browning setting. When the water begins to simmer, place the cheesecake in pot on a trivet or silicone sling.
Cook the Oreo cheesecake on High Pressure for 20 minutes. When the timer stops, allow for a 15-minute Natural Release before releasing any remaining pressure.
Remove the cheesecake from the pot. Blot any condensation built up on top of the cheesecake with paper towel. Allow to cool completely, then cover and refrigerate for at least 4 hours (preferably overnight). Remove the Oreo cheesecake from the pan and decorate with Oreo pieces and whipped cream, if desired.
This is my first pressure cooker recipe in a while, since quarantine really messed with my motivation and productivity. I’m slowly adjusting to this “new normal,” and trying to get back into my regular routines. That includes actually making regular posts on my blog. Therefore, I give you curried carrot soup!
I like to make curried carrot soup when I have a surplus of carrots. It’s always a hit, and also freezes really well.
Make sure to have all of your ingredients prepped before you begin. When you are almost done with the prep part, you can start preheating your Instant Pot.
When the liner is hot, add some oil and then the onions. Cook the onions until they start to soften, and then add the celery. After cooking the celery for a few minutes, add the ginger and garlic. After about a minute, add in the curry powder and salt, then stir to get all of the vegetables coated.
Add the carrots, and then the vegetable stock. Stir to loosen any browned bits that stuck to the bottom of the liner. Cover, seal, and cook on High Pressure for 5 minutes. When the timer goes off, let the pressure release manually for an additional 10-15 minutes before you release any remaining pressure.
Transfer the cooked vegetables to a blender with the coconut milk (leave the rest of the liquid in the pot). Blend until smooth. If you have a smaller blender, you might need to do this in batches. Once you have a smooth puree, transfer it back to the pot with the liquid. Stir until smooth. Taste and adjust seasoning as needed.
Right before serving, squeeze a little bit of lemon juice into each serving to punch it up. You can also garnish with cilantro, if you want.
Pressure Cooker Curried Carrot Soup
Ingredients
3 tablespoons neutral-flavored oil
1-2 tbsp curry powder
8 medium carrots, peeled and coarsely chopped (about 6 cups)
4 medium stalks celery, thinly sliced
1 medium onion, chopped
1 tbsp ginger, minced
4 cloves garlic, crushed
4 cups vegetable stock (I used vegetable bouillon dissolved in water)
1 15oz can full fat coconut milk
½ tsp salt (more or less to taste)
Freshly ground pepper, to taste
Lemon wedges for serving
Chopped cilantro for garnish (optional)
Directions
Set the liner of your electric pressure cooker to the Saute/Browning setting.
When the liner is hot, add oil. Add the onions and cook until they just start to soften. Add the celery and cook for another 3-4 minutes. Stir in the garlic and ginger. Cook until fragrant, about 1 minute more. Add the curry powder, salt, and pepper. Stir until the vegetables are coated.
Add the carrots and the vegetable stock. Stir to scrape up any browned bits that stuck to the bottom of the pot. Cover, seal, and cook on High Pressure for 5 minutes. When the timer is up, allow the pressure to release naturally for another 10-15 minutes before releasing any remaining pressure.
Transfer the cooked vegetables (do NOT discard the cooking liquid) to a blender with the coconut milk and puree. Do this in batches if needed. Return the puree to the pot with the cooking liquid. Stir until smooth. Taste and adjust seasonings as needed. Serve with a squeeze of lemon juice and garnish with cilantro (if desired).
Right after Halloween, a good friend of mine gave me a bunch of her leftover Halloween candy. She had a condition, though. I was only allowed to take the candy if I agreed to use it for baking, NOT if I was just going to eat it or fill my candy jar at work. When I was throwing around ideas of what to make, her eyes lit up at the thought of a Twix Cheesecake.
Challenge accepted.
I used my Snickers Cheesecake as the blueprint for this cheesecake, and just made a few adjustments to make it more Twix-like. There are Twix pieces in the cheesecake batter, so you enjoy the goodness of Twix in almost every bite.
I used an Oreo crust for mine, but using a shortbread crust would make it even more reminiscent of Twix. There is a layer of caramel sandwiched between the cheesecake and the crust, and it’s topped with a satiny chocolate ganache.
Pressure Cooker Twix Cheesecake
Ingredients
1 cup crushed Oreo cookie crumbs (can substitute with shortbread crumbs)
1 tbsp butter (increase to 2 if using shortbread crumbs)
16oz cream cheese, room temperature
1/2 cup sugar
2 large eggs, room temperature
1/4 cup sour cream
1 cup chopped Twix pieces (I used about 12 Twix minis)
1/2 tsp vanilla extract
1/2 cup caramel sauce (I used homemade)
2 1/2 oz chopped semisweet chocolate
1/4 cup heavy cream
Additional Twix for garnish, if desired
Directions
In a bowl, combine melted butter and cookie crumbs until moistened through. Press cookie crumbs firmly on the bottom of a greased 7in cheesecake pan. If you’d like, bake at 350° for 6-7 minutes before preparing the batter. Pour the caramel sauce over the crust and set aside.
In the bowl of a stand mixer, beat the cream cheese and sugar until smooth. Add the eggs, one at a time, beating well with each addition. Add the sour cream and vanilla extract, and beat until just combined. Fold in the chopped Twix pieces.
Add 1 cup of water to the liner of your electric pressure cooker and set to Saute/Brown setting. Let the water come to a simmer.
Pour batter into prepared cheesecake pan, then set the pan in your pressure cooker on a trivet over the simmering water (add a little bit more water if too much has evaporated). Hit cancel, then seal the pressure cooker and cook on Manual (High pressure) for 20-25 minutes. Allow the pressure to release naturally, which should take 10-15 minutes. Remove the cheesecake from the pressure cooker and allow to cool completely on a wire rack. Refrigerate at least 4 hours, but preferably overnight, before removing from the pan.
Melt the chopped semisweet chocolate and the heavy cream together in the microwave in 15-second bursts, stirring after each burst until most of the chocolate has melted. Continue stirring until all of the chocolate has melted and the mixture is smooth. Pour over the cooled Twix cheesecake. Allow the ganache to set before serving, then garnish with additional Twix pieces.
I love dips, but I hate mayo. So, whenever someone brings buffalo chicken dip to a party, I get excited for a brief moment before I remember that it is almost always made with mayo.
So, what is a mayo-averse blogger to do? Make her own version, of course! So, mayo haters can rejoice. You can now have your buffalo chicken dip, and eat it, too! I make mine in the Instant Pot for ease, but you can also do it on the stove top if that is your preference.
Before getting started, get your ingredients ready. You will want about 1lb to 1 1/2lbs of boneless skinless chicken breast. My local latino grocery store sells huge breasts, so I only needed one.
First, cook the chicken breast. Add 1 cup of water to the liner of your pressure cooker, then add the chicken breast. Cook on High Pressure for about 20 minutes. If your chicken breasts are especially big, you might need to add a few extra minutes.
While the chicken is cooking, you can cube your cream cheese and shred your cheddar so that it’s ready when the chicken is done. Once the timer goes off, let the pressure release naturally, but do not turn off the pressure cooker. Let it stay on “Keep Warm.”
After all of the pressure is released, open the pressure cooker, drain all of the liquid, and shred the chicken.
After you shred the chicken, add the buffalo sauce. Add the cubed cream cheese next, and stir until all of the cream cheese has melted. Add the shredded cheddar cheese, a little bit at a time, making sure each time that the cheese is completely melted before you add more.
Once all of the cheddar is melted in, add the blue cheese dressing and the crumbled blue cheese. Stir until it is all combined.
Buffalo chicken dip is best served hot. The dip can be made in advance and frozen until ready to use. I like to serve it with crackers or bagel chips, but I have also seen it served with tortilla chips. If you’re keeping it low-carb, try eating it with carrot or celery sticks, or in lettuce wraps.
Pressure Cooker Buffalo Chicken Dip
Ingredients
1-1 1/2lbs boneless skinless chicken breasts
1 cup of water
8oz of cream cheese, cut into cubes
8oz cheddar cheese, shredded
4oz blue cheese, crumbled
1/4 cup blue cheese dressing
1 cup buffalo sauce
Directions
Add the chicken broth and the water to the liner of your electric pressure cooker. Cover, seal, and cook on High Pressure for 20 minutes (large pieces of chicken may need additional time). Allow the pressure to release naturally. Leave the pressure cooker on the Keep Warm setting.
Strain the water and shred the chicken. Add the buffalo sauce and stir until combined. Add the cream cheese and stir until the cream cheese is melted.
Stir in the shredded cheddar cheese, a little bit at a time, until all of the cheese has been added and mixture is smooth. Add the blue cheese sauce, and then the crumbled blue cheese. Serve the buffalo chicken dip hot.
I’m at that age where your doctor starts telling you that you’re going to kill yourself if you don’t start treating your body better. So, I’ve been trying to stick to low carb, high protein meals lately. There are some hits and some misses, but overall I am enjoying everything that I am eating, like this creamy chicken soup.
Although it’s not as thick and creamy as a roux-based soup, it is actually really delicious. You can probably thicken it with xantham gum if you are so inclined. If you don’t care about the carbs, then roux away!
Pressure Cooker Creamy Chicken Soup
(Adapted from this recipe)
Ingredients
2 lbs boneless skinless chicken breast
5oz sliced shitake mushrooms
2 cloves of garlic
6 slices of thick cut bacon
4oz celery, chopped
1/3 cup white cooking wine (or use water)
4oz cream cheese, cut into cubes
1/2 cup heavy cream
3 cups chicken stock
1/2 tbsp dried parsley
salt and pepper to taste
Directions
Set the liner of your electric pressure cooker to the Saute/Browning setting. When it’s hot, add the bacon and cook until crispy. Remove from the pressure cooker, crumble, and set aside.
Drain all but 1 tbsp of bacon grease from the pressure cooker liner. Add the garlic and saute until it starts to turn brown. Add the celery and mushrooms and cook until they start to soften. Add the wine (or water) and cook until the most of the liquid has evaporated, scraping the browned bits from the bottom of the pan. Season with salt and pepper.
Add the chicken breast, chicken stock, and parsley. Cover, seal, and cook on High Pressure for 25 minutes. When the timer is up, allow the pressure to release naturally.
Uncover the pot and add the cream cheese and the heavy cream. Stir until the cream cheese has all melted. Taste and adjust seasoning as needed, then stir in the crumbled bacon. Serve hot.
Creme brulee is one of my absolute favorite desserts. It is also one of my go-to desserts for when I have egg yolks or heavy cream lying around that I need to use up in a hurry. This Irish Cream creme brulee always gets rave reviews whenever I make it. And, making it in my Instant Pot has made it so much easier.
I find that you don’t need as many egg yolks when you make it in the Instant Pot to get the smooth, silky finished custard. And, it’s done in a fraction of the time!
Creme brulee tastes best if you let it refrigerate at least overnight to develop the flavor. So, make sure to plan ahead!
Pressure Cooker Irish Cream Creme Brulee
Ingredients
2 cups heavy cream
1/3 cup granulated sugar
4 egg yolks
1/4 cup Irish cream
1/2 tsp vanilla extract
Additional sugar for the top
Directions
In a medium, heat-proof bowl, whisk the egg yolks, Irish cream, and vanilla. Set aside.
In a small saucepan, heat the cream and sugar until the sugar is dissolved and the mixture starts to simmer. Do not let it come to a boil.
Remove from the heat. Gradually add the cream mixture to the egg mixture, 1/4 cup at a time, whisking constantly. When about 1/3 of the cream mixture has been incorporated, pour in the rest of the cream mixture and whisk until incorporated.
Divide the mixture evenly among 6 4oz ramekins. Cover each ramekin with foil.
Place a trivet in the liner of your electric pressure cooker and add 1 cup of water. Arrange the ramekins in 2 layers in the pressure cooker. Cover, seal, and cook on High Pressure for 1 minute. When the timer is up, let the pressure release naturally for 10 minutes before releasing any remaining pressure.
Remove ramekins and cool completely on a wire rack. Cover and refrigerate for at least 4 hours, but preferably overnight.
To serve: Add about a teaspoon of sugar to the top of the cold custard, tilting the ramekin around so the entire surface is coated with sugar. Use a kitchen torch to melt the sugar until caramelized and bubbly. Allow to sit for 5 minutes before serving.
I learned to make empanadas from my mother. She wasn’t exactly the most patient instructor, but she DID teach me very well. I’ve probably had about a decade’s worth of practice now, and I dare say that I can barely taste the difference between her empanadas and mine anymore.
I have gotten requests for the recipe over the years, but I never actually got around to writing it down. So, now I’m forcing myself to. I actually changed the original stove-top preparation of the empanada filling and now make it in my Instant Pot. I got my mother an Instant Pot this year, and now she’s been making empanada filling in hers as well
The filling comes together in a single pot. First you pressure cook the meat, and then you add the potato, scallions, and seasonings and cook uncovered until hardly any liquid remains. Taste and adjust your seasonings, and the filling is ready.
I normally let the filling cool to room temperature before I start assembling my empanadas, just so that it’s easier to work with. After that, I make the dough and then assemble the empanadas. I will try to update this post later with pictures of the empanada assembly process.
I fry my empanadas in a deep fryer to make temperature control easier. You can fry these on the stove as well. Just make sure that your oil is at 350-375 degrees F
I like to let my fried empanadas drain on a rack over a baking sheet for a few minutes and then transfer them to a dish lined with paper towels
Voila! Beautiful empanadas that you won’t be able to eat just one of. They are a lot of work, but they are so worth the trouble in the end.
We typically eat empanadas with aji (Colombian-style salsa). This recipe looks similar to what we use in my family.
A few notes:
If you have an air fryer, you can reheat empanadas at 350 degrees for about 7 minutes for maximum crisp factor. You can also reheat them in the oven. I like to freeze them in vacuum-sealed portions and reheat in my air fryer (heat for 10 minutes from frozen).
Microwaving leftover empanadas is not recommended, as they will be soggy.
You can freeze leftover empanada filling to use later. I sometimes make a double batch so that I can freeze half. Frozen empanada filling should keep for about 3 months. Defrost in the fridge when you’re ready to make empanadas again.
You can also freeze assembled empanadas. You can freeze them on a parchment lined baking sheet, then transfer to a freezer bag. Fry the frozen empanadas an additional 2-3 minutes.
Colombian Empanadas
Ingredients
For the filling:
1lb beef chuck, cut into large chunks
1 cup beef broth
1lb Russet potatoes, diced
1 bunch scallions, chopped (about 6 scallions)
1 tsp cumin powder (more or less to taste)
1/2 tsp garlic powder
1/2 tsp onion powder
Salt and pepper to taste
Optional: a sprinkle of chopped cilantro
For the crust:
2 cups pre-cooked corn meal (I use Pan brand)
2 1/2 cups very hot (but not boiling) water
1 tsp salt
Optional: 1/2 packet Goya seasoning (the kind that says “Con Azafran” on the box)
Directions
Make the filling:
Add the beef chunks and beef broth to the liner of your pressure cooker. Cook on High Pressure for 45 minutes. When the timer is up, allow the pressure to release naturally.
After the pressure has released, open the pressure cooker. Shred the meat with a fork or your tongs (if meat will not shred, cook under pressure for an additional 10-15 minutes).
Set pressure cooker to the Saute/Browning setting. Add the diced potatoes, scallions, cumin, garlic powder, and onion powder. Season with salt and pepper. Let the mixture come to a simmer. Cook the potatoes are cooked through and most of the liquid has evaporated from the mixture. Taste and adjust seasonings as necessary.
Let the mixture cool to room temperature before you continue.
**Note: Filling can be made in advance and stored in the fridge or frozen until ready to use.
Make the dough:
Place corn meal, Goya seasoning (if using), and salt in a large, heat-proof bowl. Add the hot water and stir with a metal or wooden spoon until mixture forms a firm dough.
At this point, you can cover the dough with a towel and allow to sit for 30 minutes. Or, if you can tolerate heat well, you can start working the dough now. Using both hands, press and knead the dough until it is uniform, and no clumps of corn meal remain.
Assembly and cooking:
Preheat about 2 quarts of vegetable oil for frying to 375 degrees F. Normally, I use a deep fryer. However, use the method you feel most comfortable with.
Shape prepared dough into balls approximately 1″ in diameter.
Flatten ball into a disk. Add a spoonful of the filling. Fold one side of the disk over onto the other side and pinch shut to seal, so that they form a half-moon shape. Repeat until you run out of filling, dough, both, or just get too tired of the repetition. The dough dries out very quickly, and your dough will start to crack during the assembly process, so work quickly and keep your dough covered with a dish towel to help trap the moisture. Alternately, you can make the dough in smaller batches at a time, so it doesn’t sit out as long before drying out.
Add empanadas to the hot oil, 3 or 4 at a time. Do not crowd the oil. Fry until golden brown and crispy, about 2 minutes per side.
Remove from oil and drain on a rack or on paper towels. Allow to cool a few minutes before serving. Serve with aji (salsa), if desired.
Sometimes, it’s the simple things that give us happiness. Like cheeseburger mac. My mom used to make it for us when we were kids. She used boxed mac and cheese (the kind with the liquid cheese packet). Now that I’m an adult, I figured I should elevate it a little bit. That doesn’t mean that it doesn’t need to be easy to make, though! Making it in my Instant Pot takes care of that part.
This recipe is best eaten as soon as it is made, but leftovers can be reheated if needed. Just microwave in 30-second intervals with a little bit of milk until it’s creamy again.
Pressure Cooker Cheeseburger Mac
Ingredients
1tbsp oil (use a high heat oil)
1 1/2lbs (24oz)lean ground beef
1/2 tsp salt (more or less to taste)
1tsp garlic powder
1tsp onion powder
1tsp ground black pepper
1/4 tsp mustard powder
1/2 tsp chili powder
1lb dried macaroni noodles (I used cavatappi, but you can also use elbow noodles)
4cupslow sodium beef broth or water
3tbsp butter
1/2cup half-and-half (you can also use milk or heavy cream)
4oz cream cheese, cut into cubes
8ozshredded colby jack cheese
8ozshredded cheddar cheese (I used white cheddar)
Directions
Heat the oil in the liner of your pressure cooker in the Saute/Browning setting.
When it is hot, add the ground beef. Cook, breaking up the pieces, until no longer pink. Stir in the seasonings, then turn off the pressure cooker.
Place the dried noodles over the ground beef, then pour in the broth or water. Top with butter.
Cover, seal, and cook on Manual (High Pressure) for 4 minutes. When the timer is up, leave the pressure cooker on Keep Warm and release the pressure manually.
Add the cubed cream cheese and stir until melted. Add the half-and-half, then gradually add the cheese, a little bit at a time, until completely melted and creamy. Serve hot.
A friend of mine was the go-to person for mango chutney for a few years. When her annual supply of mangoes during Mango Season was not to the usual standard, I stepped in to give it a shot on my own. I used my Instant Pot, and am pretty happy with the results!
Before you begin, gather all of your ingredients. I like to combine all of the spices in a small bowl. I used two different kinds of mango.
Heat the oil in the pressure cooker. When the pressure cooker is hot, add the onions and cook until they start to soften. Add the garlic and ginger, and cook until fragrant. This usually takes about a minute. Once that is done, add the spices and stir for another minute. Add the mango and stir to coat in the spiced onions, then add the sugars and the cider vinegar.
Give everything one more stir to make sure that everything is mixed together, and then seal the pressure cooker. Cook on High Pressure for 10 minutes, and then let it release manually. After the pressure is released, set the pressure cooker to Saute/Browning on the highest setting again. Simmer the chutney until it has reduced and thickened as much as you want it to.
I mistakenly had mine set on the lowest Saute setting and it took a full 30 minutes for my chutney to thicken enough. I’m guessing that it will take about half of that time if you use the higher Saute setting.
Once the chutney is done, you can divide it evenly into jars. I got 4 and a half 8oz jars out of this recipe.
The chutney should last about 2 months in the fridge in a sealed container. If you are familiar with canning, this will increase the shelf life.
Pressure Cooker Mango Chutney
Ingredients
1 tablespoon cooking oil
1 cup yellow onion, diced
2 tablespoons fresh ginger, finely minced
2 cloves garlic, finely minced
1 red chili, sliced (or substitute 1 tsp red chili flakes)
1 teaspoon ground coriander
½ teaspoon ground cumin
¼ teaspoon ground turmeric
5 whole cloves
¼ teaspoon ground cinnamon
1/2 teaspoon salt
5 green cardamom pods
1 quart of peeled and diced mango chunks (use ripe mangoes)
1 cup white granulated sugar
1 cup light brown sugar
1 cup apple cider vinegar
Directions
Heat the oil in your electric pressure cooker on the Saute/Browning setting. When done preheating, add the onions and sliced chile (if using) and cook until soft, about 5 minutes. Add the ginger and garlic and cook until fragrant, about 1 more minute. Then, add the spices (coriander, cumin, turmeric, cloves, cinnamon, salt, and cardamom pods) and cook, stirring, for an additional minute.
After the spices are ready, add the mango and stir until fully coated in the onion and spice mixture. Add the sugars and the cider vinegar. Stir to combine.
Cover, seal, and set the pressure cooker to cook on High Pressure for 10 minutes. When the timer is up, allow the pressure to release naturally.
When the pressure is released, uncover and set once again to Saute/Browning on the highest possible setting. Let the chutney cook until it thickens and reduces to your liking.